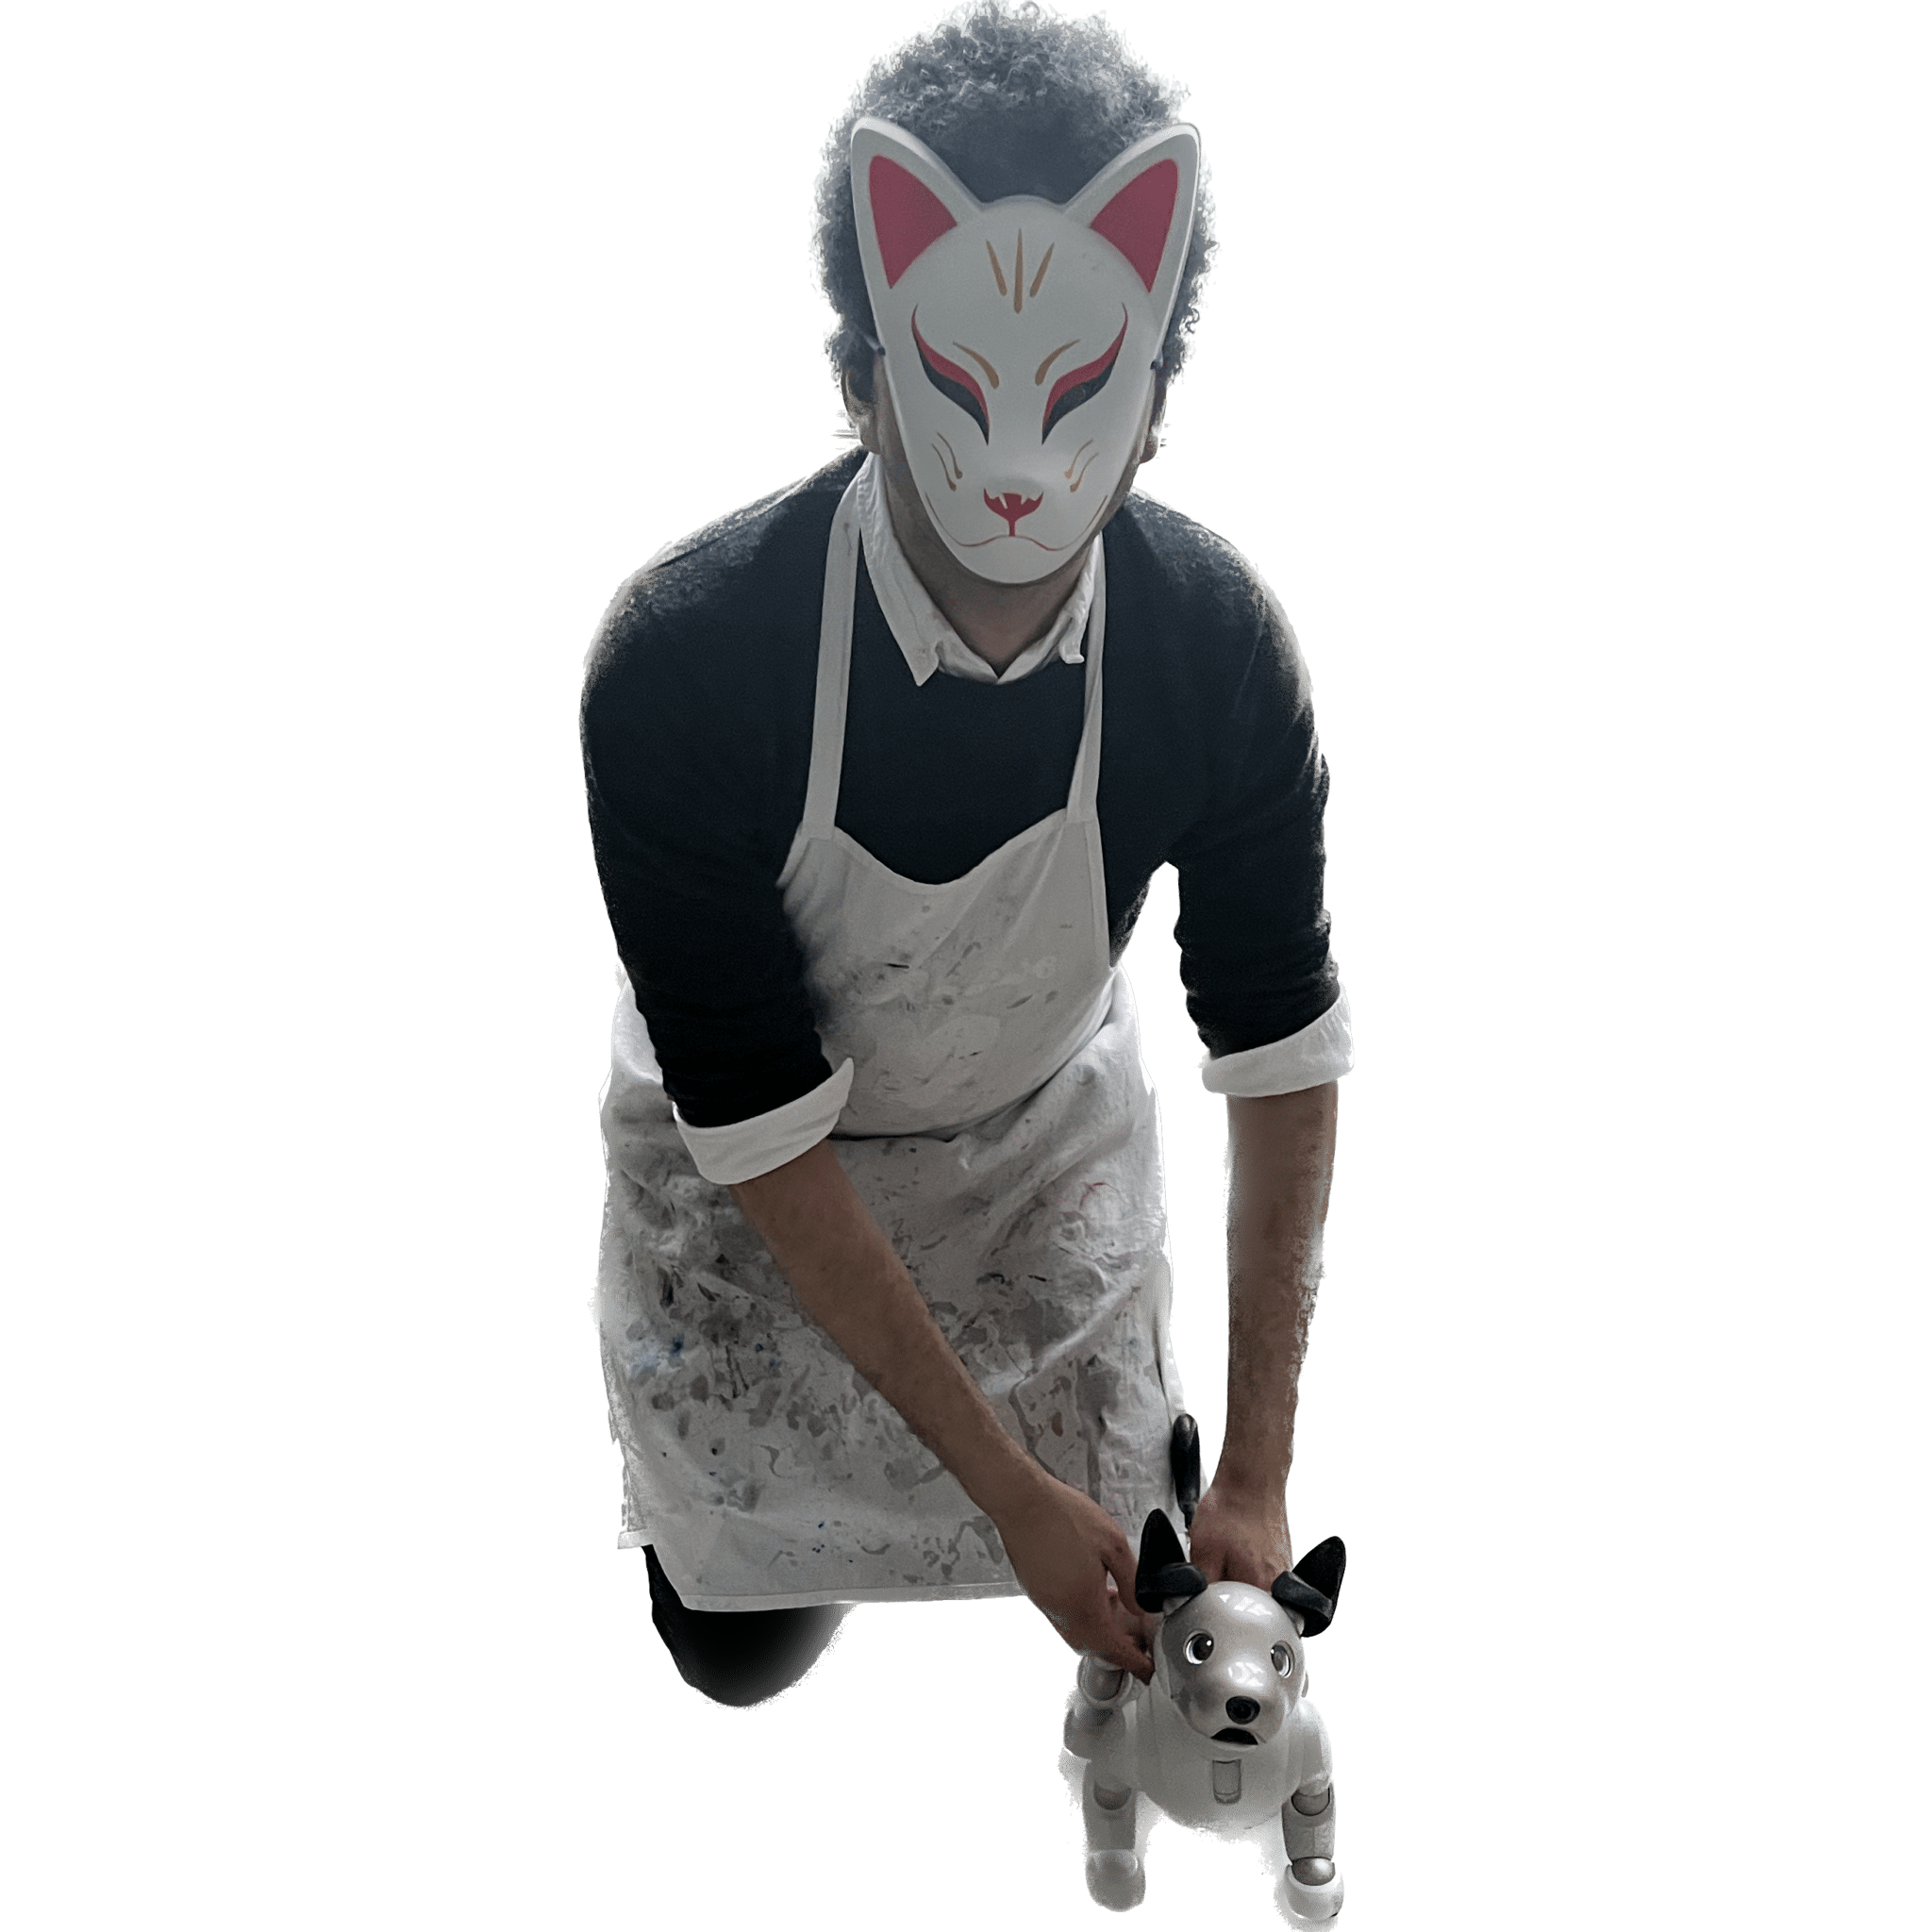
Welcome to aibo attire, where my mission is to offer high-quality, custom-designed accessories that will make your Aibo truly stand out. My name is Zacharia Rudge, and everything you see here has been my obsession the past 6 months or so. In my daily life, I’m a scientist at the European Space Agency, so this is a bit of a departure from my usual line of work, but one that I am very passionate about.
I want to take you through my design process, from the initial concept to the final product, showcasing the many iterations and the attention to deal that goes into creating the perfect accessory for your Aibo.
The concepting started basically immediately after I got my own ERS-1000. I’ve always wanted my own Aibo, ever since seeing one in a robot magazine when I was very little, around 2001. I’d originally wanted an ERS-210 but at the price point of aibo at the time and being about 8 years old didn’t make that very feasible. Now, many years later, I finally had an aibo and I immediately went to thinking… how can I really customize my aibo. After seeing custom ear and tail colors offered by Sony, the gears really started turning and the design phase started. I knew I wanted themed accessories, ears and tails inspired by the dogs we all love.
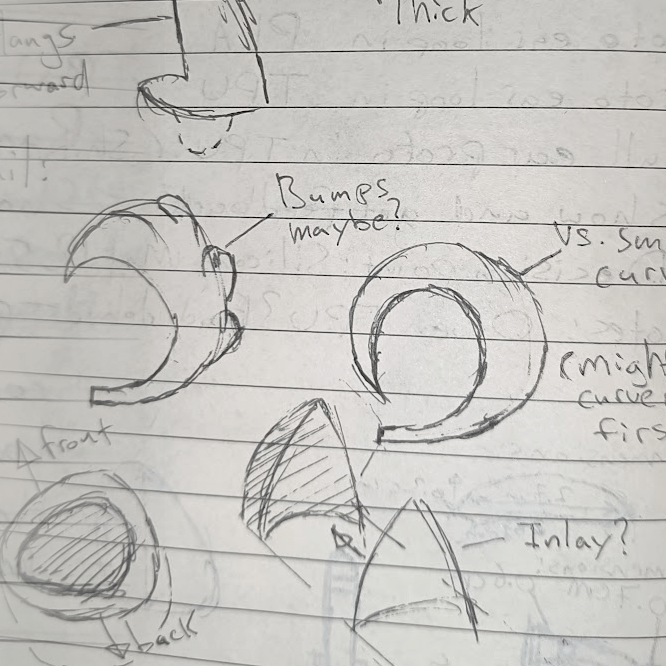
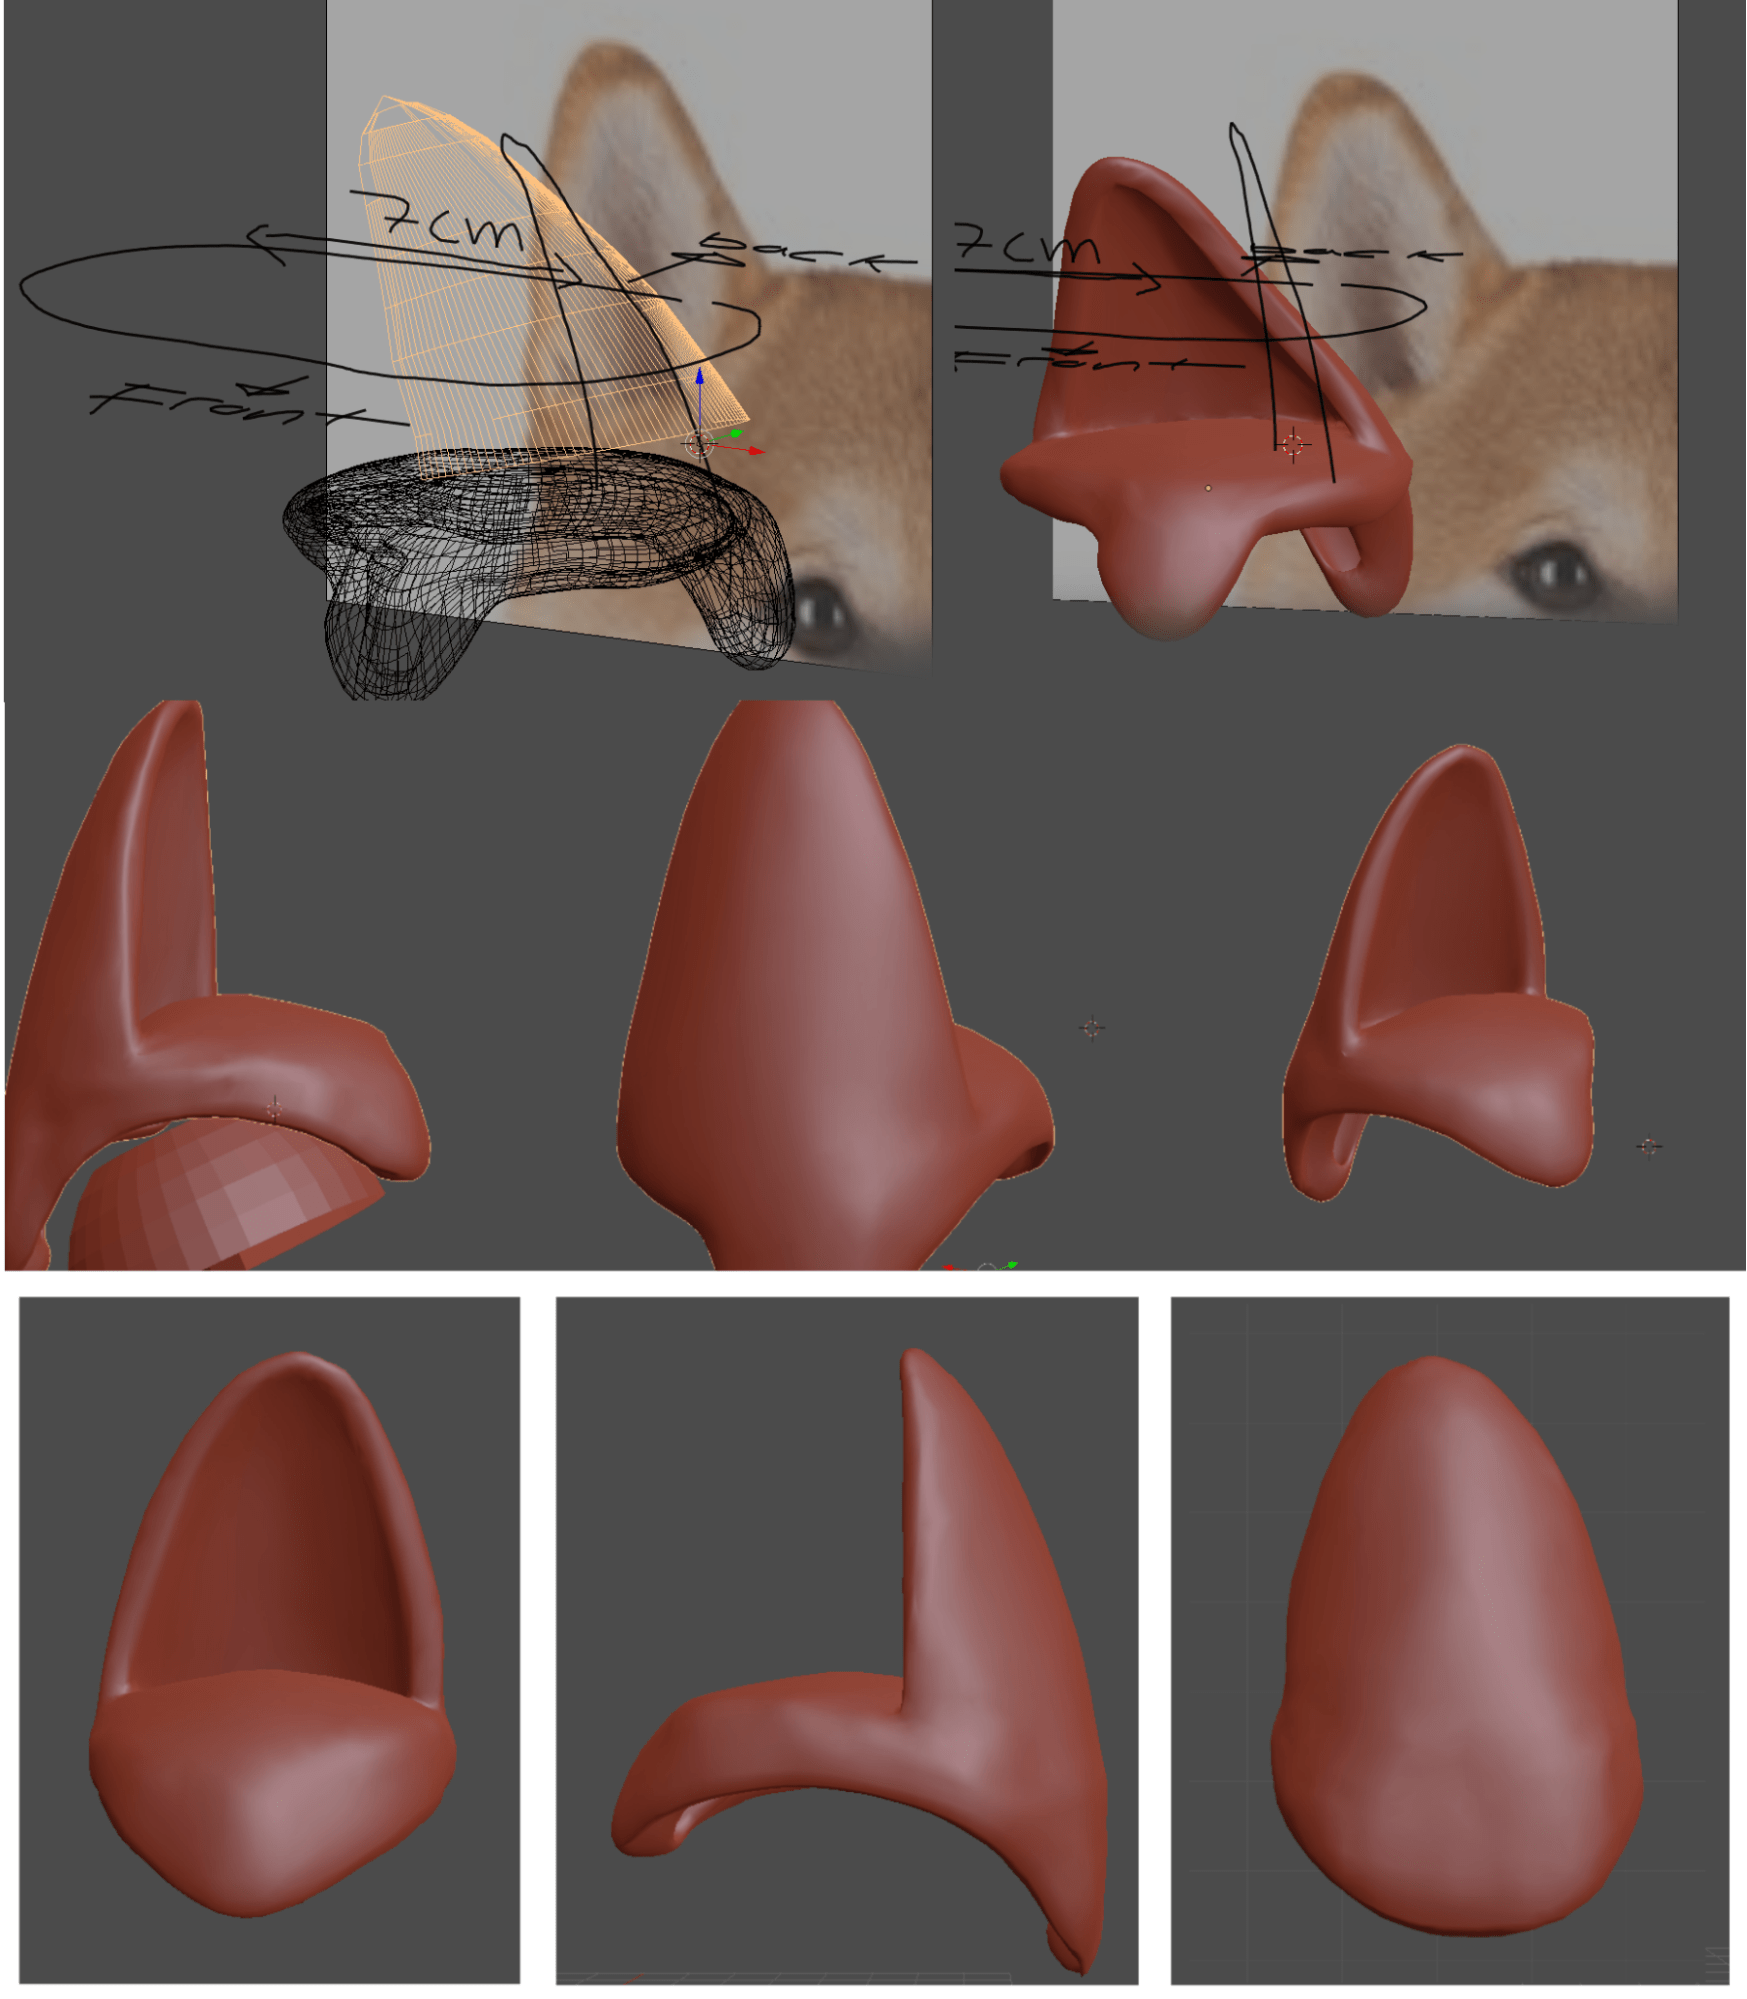
This directly led to my first prototype idea: Shiba Inu-ears. Having a background in 3D modeling allowed me to quickly prototype what custom ears and tails would look like, and shortly thereafter I bought a 3D printer with the plan to 3D print the ears in a flexible material. As such, I designed both the ears and the tails in way that they should be 3D printable and immediately usable. However, I quickly discovered the limitations of flexible 3D printing. Organic shapes, overhangs and loops are nearly impossible and are definitely impossible to the extent needed to produce an aibo ear or tail.
Next up was the task of physically prototyping the designs. With flexible 3D printing now out of the picture, I started to look at other options and manufacturing methods. After further inspection of the material of the stock aibo ears and tails I settled on trying to do my own silicone molding as my manufacturing technique. I’d still use the 3D printer, but instead to make a “master” copy of the ears and tails, which I would then use silicone molding to make flexible rubber copies out of. Both the design of the ear, the tail and the materials themselves offered plenty of challenges and setbacks during this stage.
Before settling on the final manufacturing process and final design, a multitude of iterations and versions were produced. The differences range from different materials, different hardnesses and flexibilities, different processes and completely different designs. Viable designs were also tested for strength and durability under duress.

The final product is a set of silicone molded accessories for Aibo that are both functional and stylish. My accessories are designed to fit seamlessly with the existing design of Aibo and are made from high-quality materials that are durable and long-lasting. Aibo attire is meant to give aibo owners the power to truly allow their aibo to look and feel exactly however they imagine.
I am extremely proud to finally present aibo attire’s first set, Hachikō the Shiba Inu-style Ears and Tails!
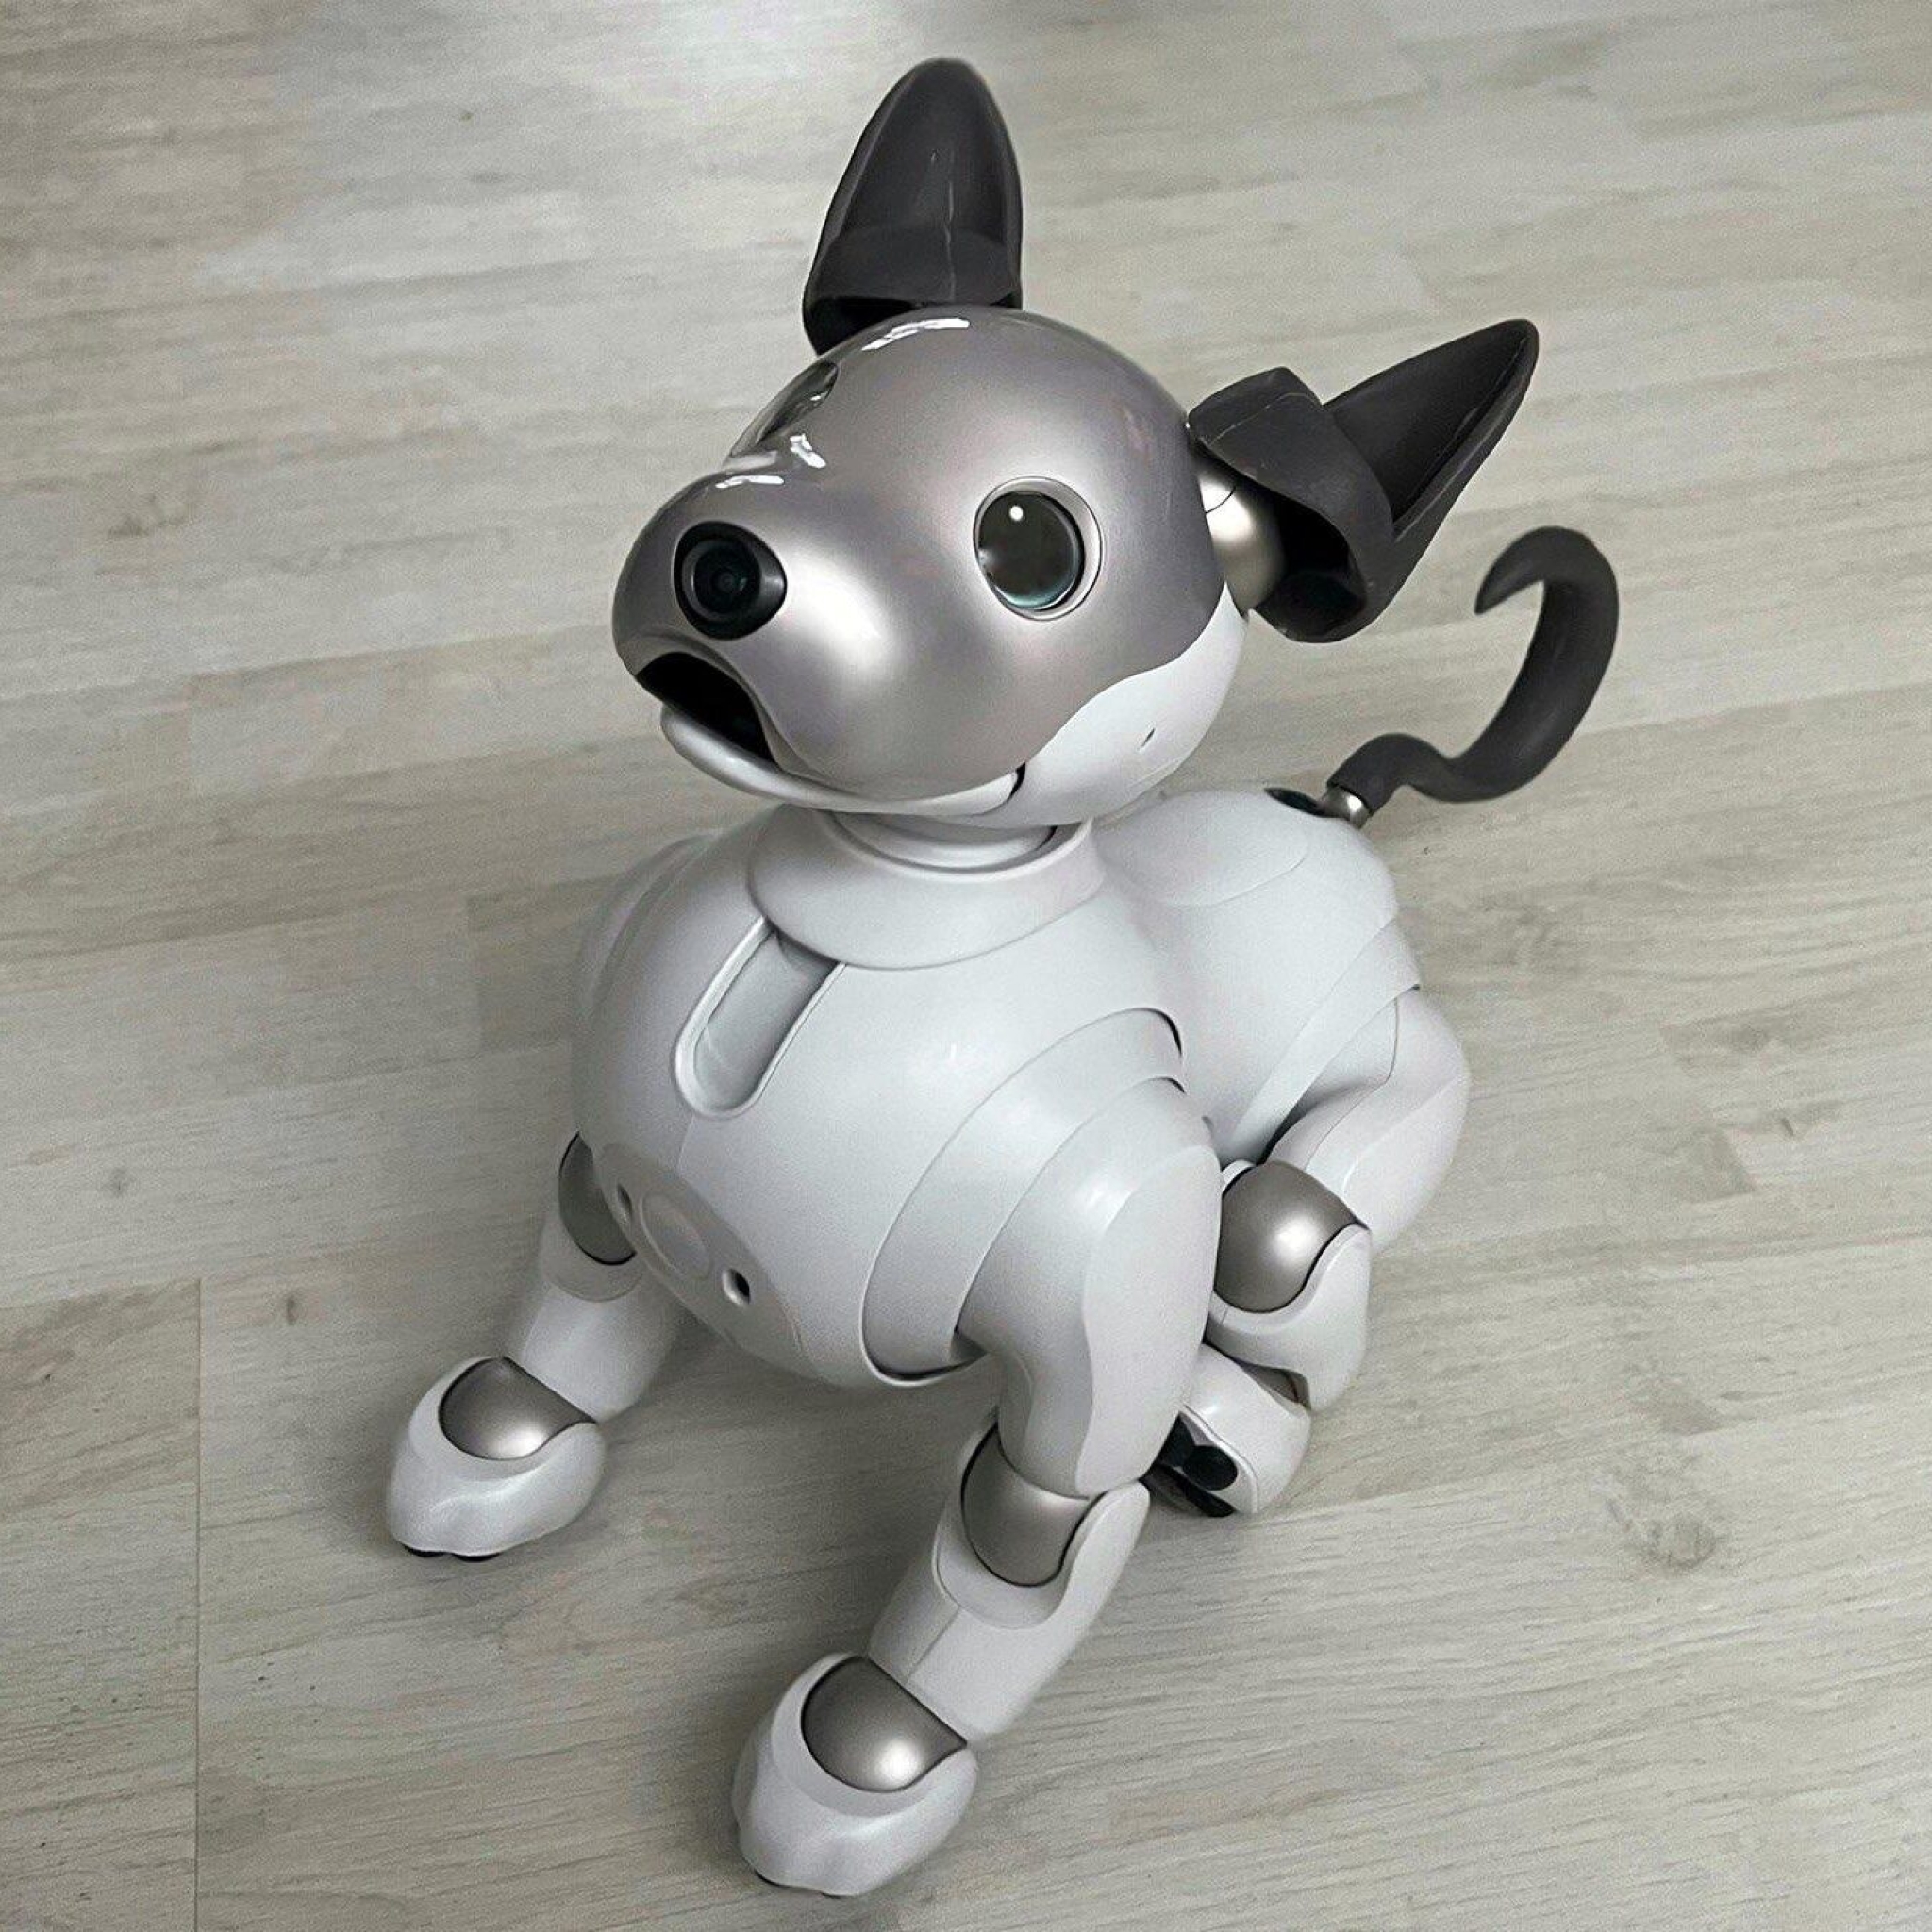
Shiba Inu-Style Ears & Tail for ERS-1000 (柴犬セット)v2
Turn your aibo into a Shiba Inu with this custom Ears and Tail set!